
Dining

Another fabulous find on Facebook Marketplace ($100). A ‘temporary’ solution until I found something else for the space; fast forward years later and it remains the star in our dining space.

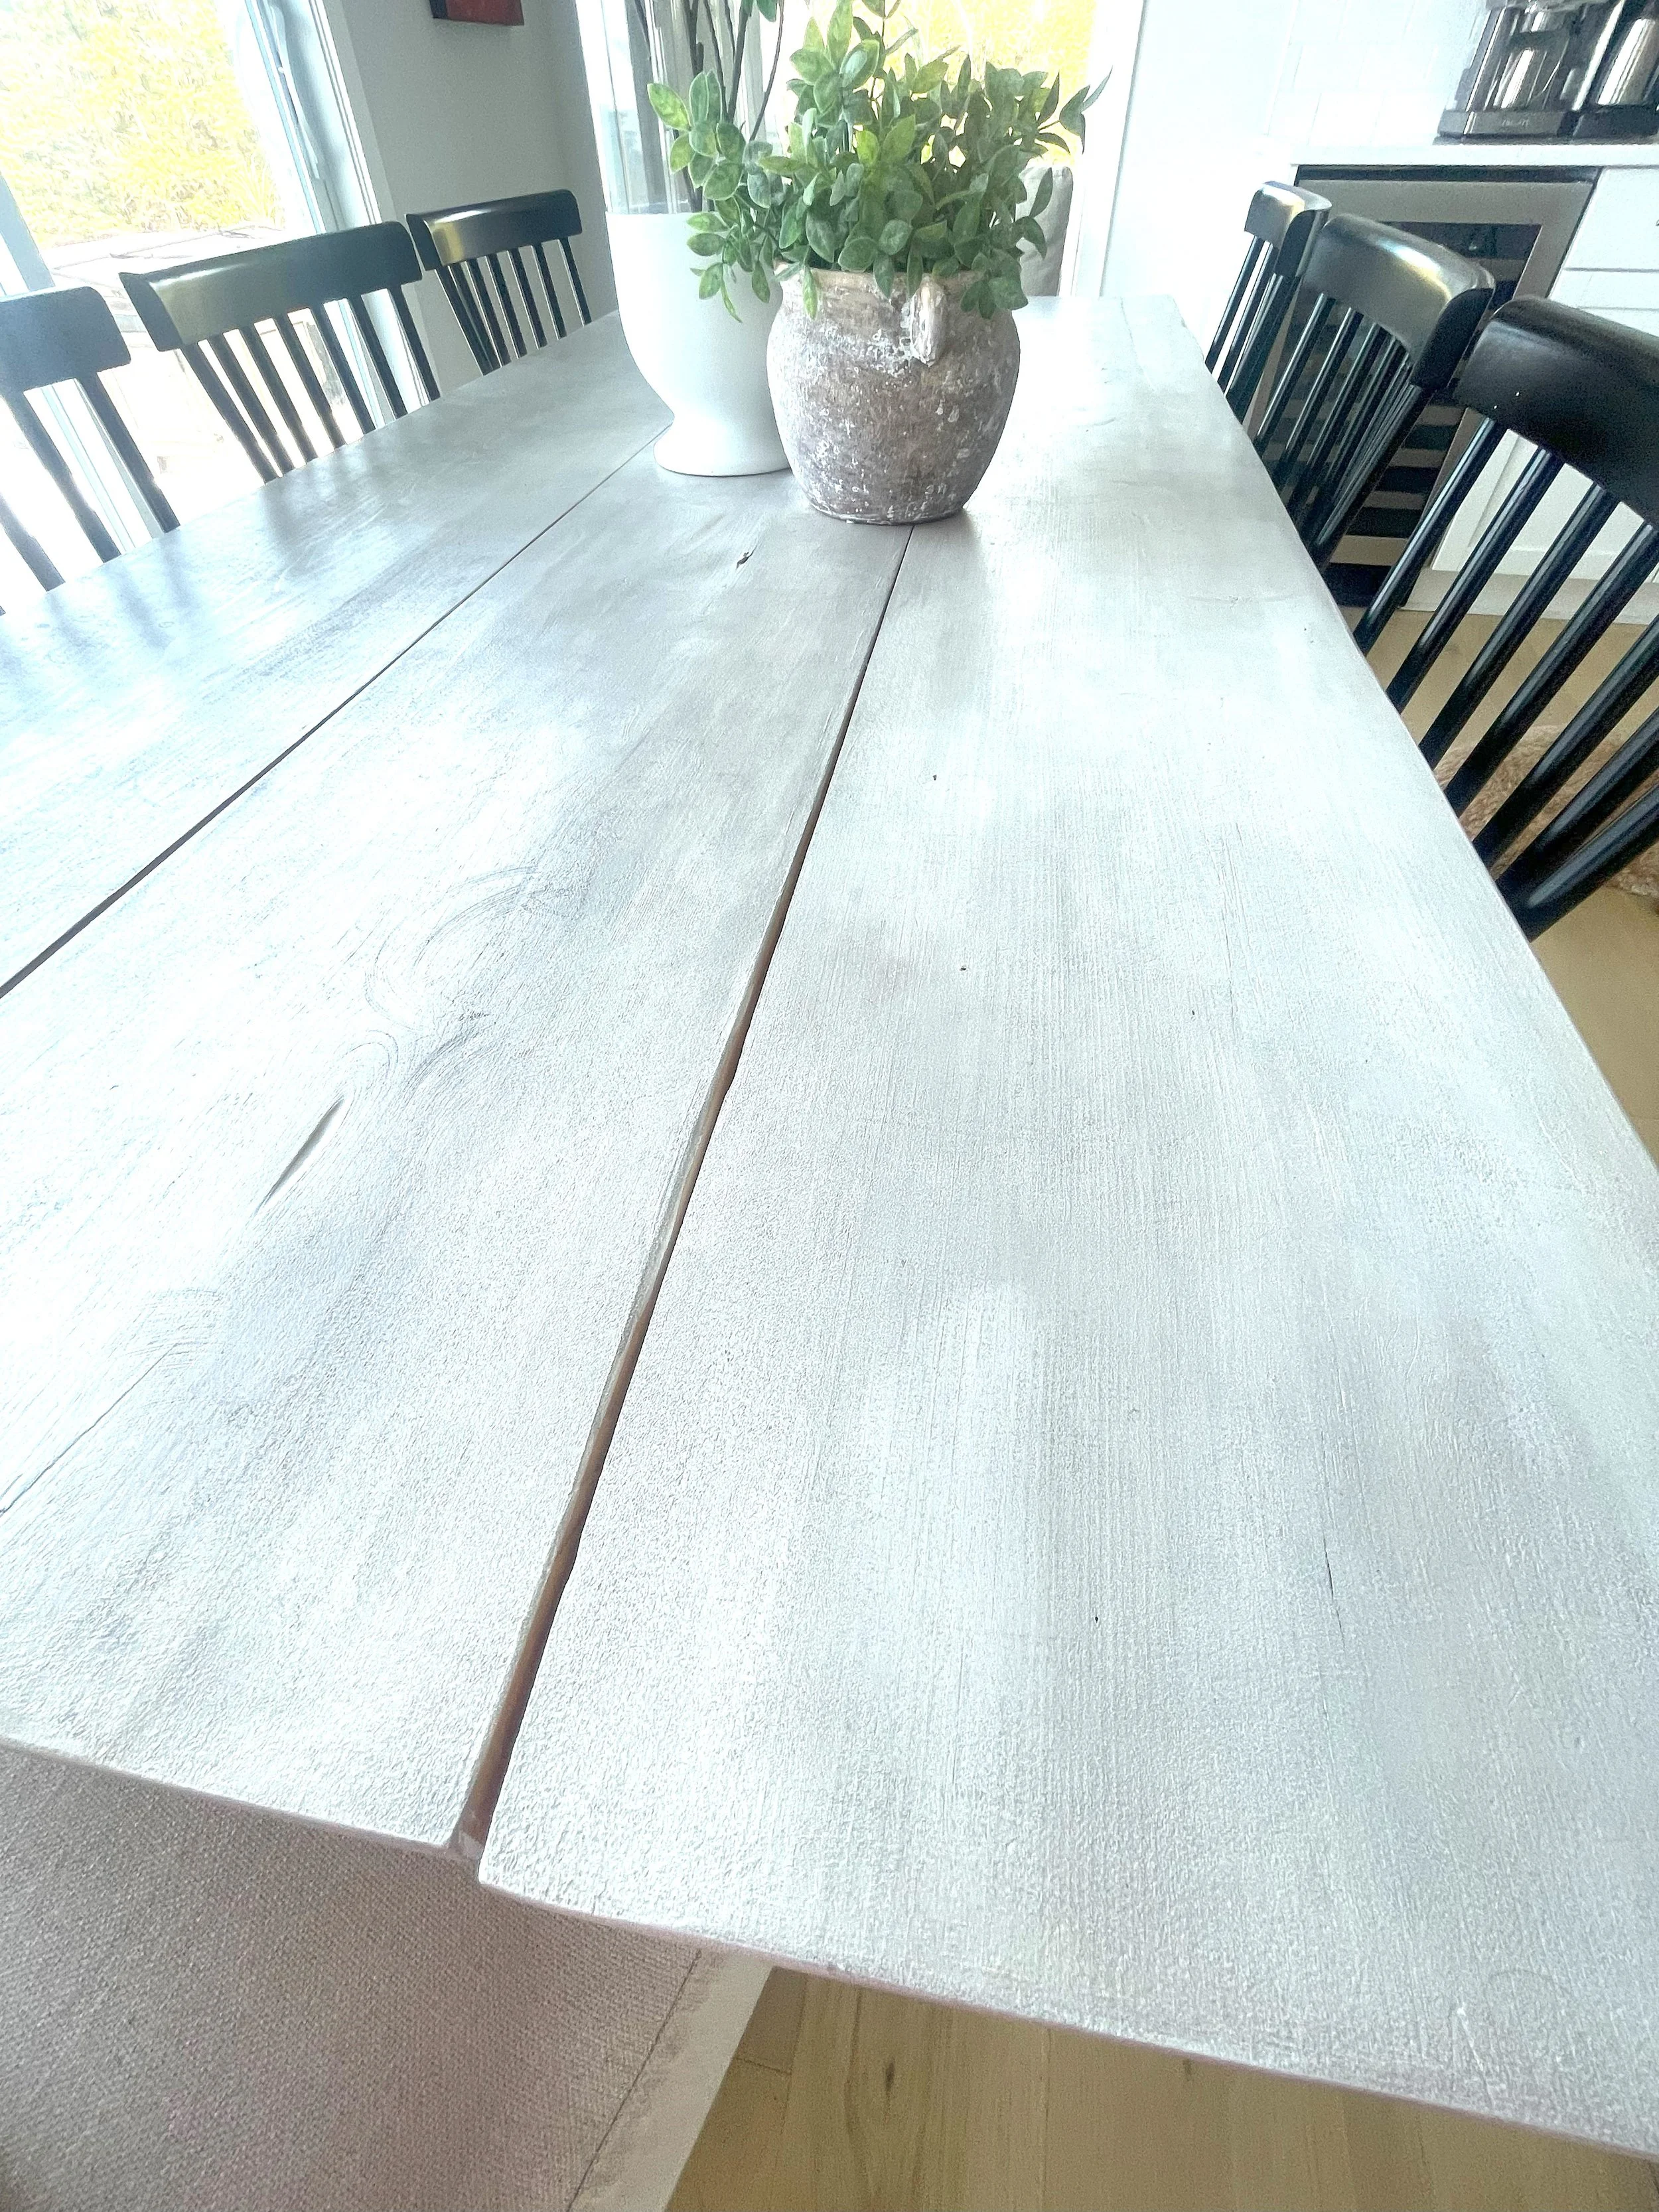
A close up …
The wood stain (sunbleached) applied over the table top is how I achieved a casual coastal vibe
The dining table was another Facebook Marketplace find. It was ‘rustic’ to say the least - needed some repair and ALOT of sanding. However, it checked off a lot of the boxes: size (easily seats 8), solid wood (not veneer), the top wood planks gave it character (which oddly enough coordinates with our coffee table), and finally cost ($100) - SOLD! I thought this will be a perfect temporary solution. Well … fast forward several years - yup, we still have the table :) Paired with classic black windsor style chairs and two ‘captain’ style chairs , it looks so much more high end than a “$100 Marketplace find”.
Gathering Supplies:
Paint Brush(es)
Lint-free Rags or stain pads (for applying the stain)
Step-by-Step:
Clean
Using warm soapy water (blue Dawn), I cleaned the entire piece including underneath. I didn’t fuss too much with this step because of the next step (sanding) - it needed ALOT of sanding.Sand
Unfortunately, I didn’t take a snap of the ‘before’ but trust me when I say it needed ALOT of sanding. The top was painted in a yellow/white (several layers) and for this paint technique, it needed to be stripped back to the original wood. In comes my father in law to the rescue! He was happy to take on the challenge. This is where my orbital electric sander came in handy - I couldn’t imagine this done by hand. After a full day of sanding (no exaggeration), the table was now ready for paint! Full credit goes to my father in law for this one!Clean (Again!)
Yup - another good cleaning using warm soapy water. The focus was to remove the dust from all that sanding!Paint
And now the fun can begin! Using my ‘go-to’ chalk paint Rust-oleum Chalked Linen White, I applied 3 coats to the base and to the table top. Between each coat, I allowed a minimum of 1-2 hours to dry. I used the foam roller for the legs and table top and in places that were hard to cover using the foam roller, I used a paint brush. Chalk paint is extremely forgiving as far as brush strokes, but I did make sure I followed the wood grain.
In between paint coats, I gave it a light sanding using 180 grit sandpaper. The sanding removes any debris or particles giving a more professional finish - highly recommend this step! After sanding, be sure to wipe down using a lint-free cloth before applying the next coat of paint.Applying the Varathane Wood Stain
This step was a little tricky (until I got the hang of it). Using a lint-free rag and wearing latex gloves (stain is not easy to get off your hands), I applied the stain to the table top surface - following the direction of the wood grain. I continued until I got the desired effect/look I wanted. As I said, it took some practice and yup, I messed it up a few times (biggest challenge was getting it on evenly). But my mistakes were easily fixed - repaint, let dry and go again. There’s a great YouTube Video (DIY Farmhouse Coffee Table) where she uses the same technique - with the only difference I applied the stain over paint and she applied it over wood. (FYI - I left the base and legs white)Poly Urethane
I then applied a couple of coats of Poly Urethane (water based / matt) to the table top surface only. This step is for added protection. I chose matt finish as I wanted the protection without the ‘gloss’ look.Project Complete!
As mentioned, this was supposed to be a temporary solution - but it remains in our dining space today. It’s beachy coastal vibe suits our home and it’s not so precious for daily wear and tear. We’ve hosted many meals and memories around this little gem.
Want to Shop the Look?