
Casual Coastal
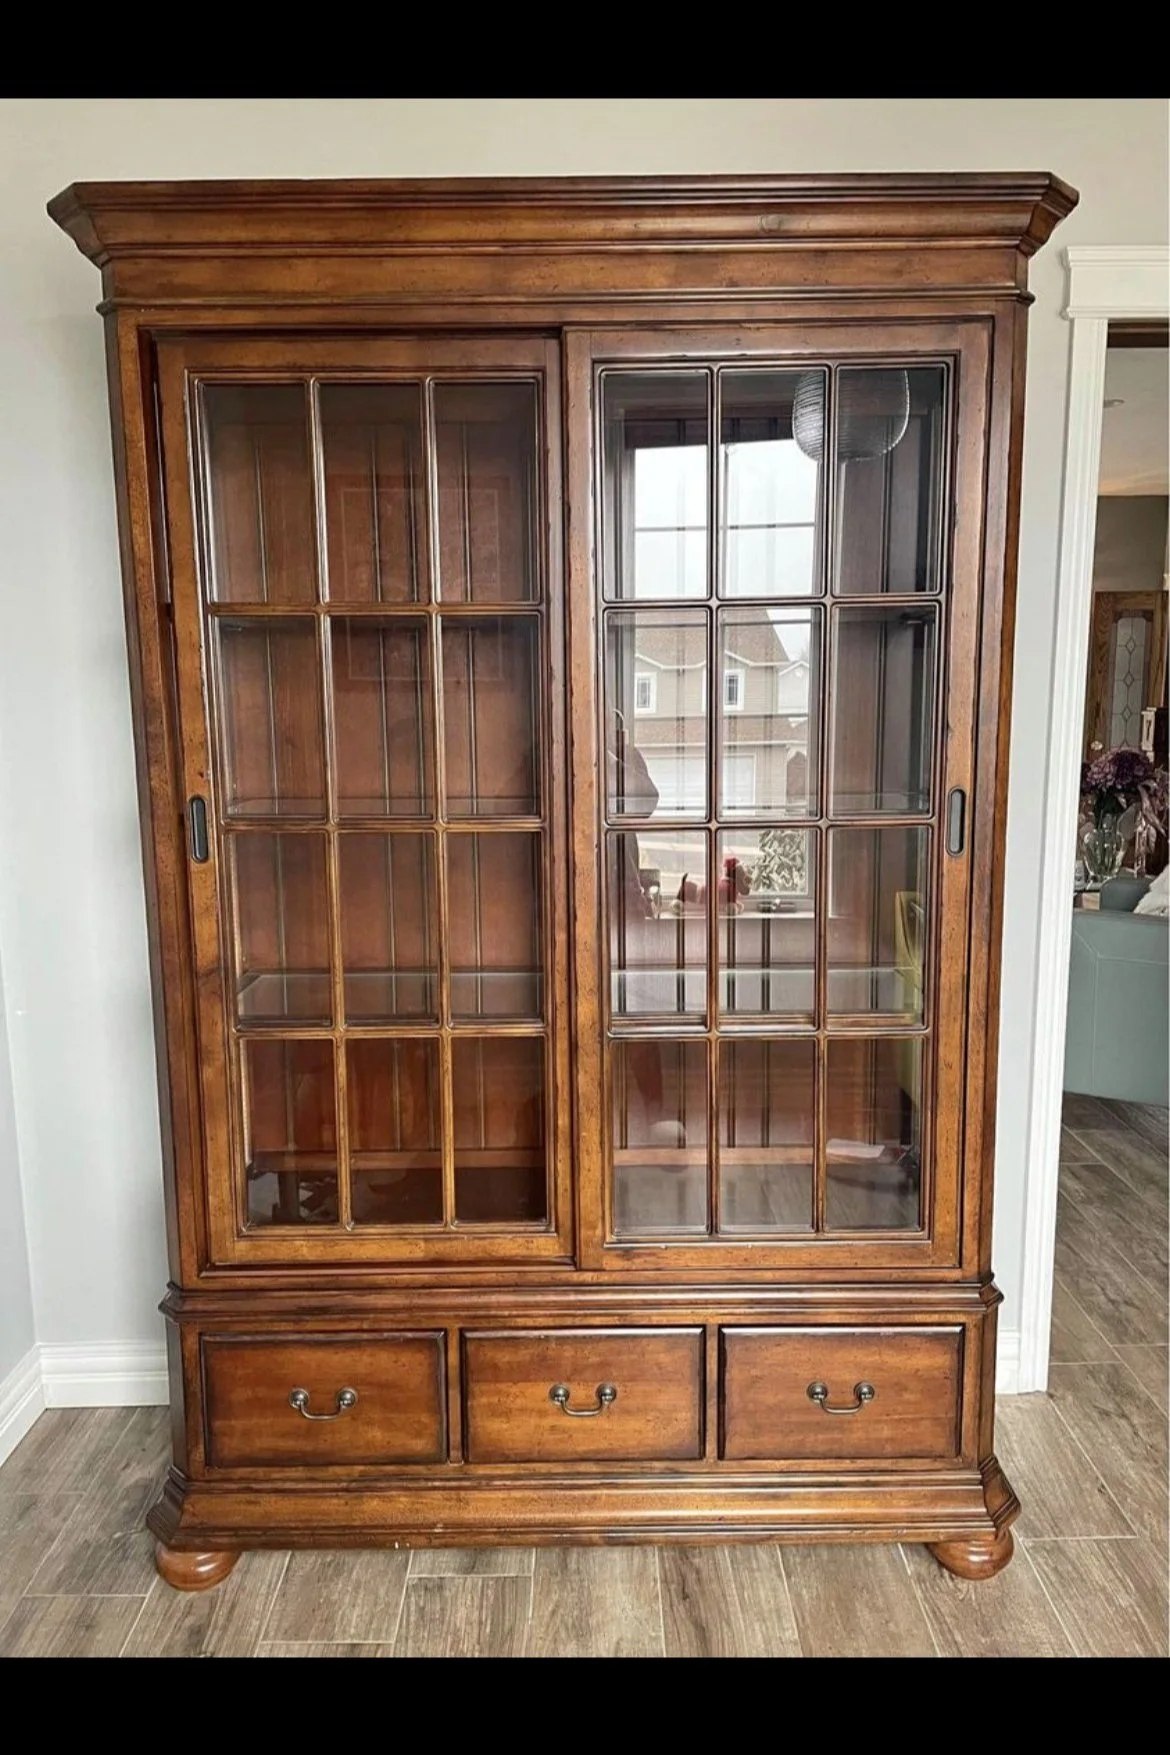
A Facebook Marketplace find that I was able to get for a steal - solid wood and in perfect condition

The transformation …
I wanted a casual coastal feel - light and airy. Love the results - 3 coats of chalk paint (White Linen) and then gave it a slight sanding (distressed technique) along its edges, finished with a clear coat of wax for durability
Another great Facebook Marketplace find. This solid wood treasure just needed some work to transform it from dark and dreary to casual coastal. I was definitely up for the challenge!
Gathering Supplies:
Orbital Sander (not necessary, but makes it easier than sanding manually)
Paint brush (trim brush)
Step-by-Step
Clean
I can’t stress the importance of making sure your piece is well cleaned before a lick of paint can go on. I removed all hardware, the shelves, drawers and the doors. With warm soapy water (my fav is blue Dawn). I cleaned everything - scrubbing first and then wiping down.Sand
Next up … to sand. Using my orbital sander with 120 grit paper, I sanded the entire piece … a good scuff is all that’s needed. The intention of sanding is to remove any varnish so that the paint will adhere.Clean (Again!)
Yup - another good cleaning using warm soapy water. The focus was to remove the dust from all that sanding!Tape
I used painters tape to tape off any parts of the unit I didn’t want painted (like the glass on the sides, the glass on the French doors and the inside top of the unit).
Now the prep work is complete! I probably spent 1-2 days prepping, which might sound excessive, but prepping for any paint project is equally as important as the paint application. Now the fun can begin!Paint
I love working with chalk paint. My ‘go-to’ chalk paint these days is made by Rust-oleum Chalked and for this project, I used Linen White. I applied 3 coats (because I didn’t use a primer, I went all in with 3 coats). Between each coat, I allowed a minimum of 2 hours to dry. For this piece, I used a round trim brush for all the nook and crannies that were challenging to get at. Other than that, I mostly used a foam roller.
In between paint coats, I gave it a light sanding using 180 grit sandpaper. The sanding removes any debris or particles giving a more professional finish - highly recommend this step! After sanding, be sure to wipe down using a lint-free cloth before applying the next coat of paint.Once the unit was complete, I then moved on to the French doors. Because they were taped so well, the process was relatively easy; but time consuming! You really can’t rush painting anything that has window pain(s). I dedicated another full day just for the doors.
Distress Sand
And again … more sanding! Only this time, it’s distress sanding - which is actually fun. Using 120 grit sand paper, sand away the paint down to the original wood so it gives the effect that over time the piece has aged - the corners, the drawers, the doors. There is no way to mess up this step.Decorative Finish - Wax
I then buffed on clear wax using a lint free cloth. Wax provides added protection and durability to the piece.Hardware
I actually really liked the original hardware. I just gave the hardware a good cleaning and re-installed. Easy!
Project Complete!
I love love how this turned out! It proudly sits in our Great Room and I get comments on it all the time. I also love that I can now display some of my favourite treasures, books and family photos.
Added bonus, I can decorate with the seasons - Can’t wait to share what fun Christmas will bring.

Prepping
Be sure to clean really well using a soap with a degreaser (blue Dawn is my fav).

More Prepping
Taping can be time consuming but in the end will save aggravation and time.

Painting Window Pains
I’m certain there are much more efficient ways to paint window pain(s) / French doors than tape and paint! I dedicated a day just to the 2 doors and happy how they turned out.

Project Complete!
This is a show stopper in our Great Room.